Even if you’ve secured admission to an American university or prepared an internship proposal, the process often gets stuck at the same point: the DS-160 form, completed online on the Department of State website. This form generates a confirmation number that you need to schedule an embassy appointment and obtain your visa. Without this number, you can’t proceed.
DS-160 confirmation number and visa number: two references you shouldn’t confuse
The first practical step, even before opening the form, is to clarify what you’re looking for. The DS-160 confirmation number is an alphanumeric identifier assigned as soon as you create your online application. It is used only to retrieve the form, resume it if you’re interrupted, and schedule your consular interview.
The visa number, on the other hand, is issued only after the consular officer approves your application. Confusing the two can lead to errors when booking your interview slot, because the appointment system specifically asks for the DS-160 barcode—not anything else.
When preparing an application for an exchange program, the requirements for a J-1 student visa also include a DS-2019 form issued by the sponsoring organization, as well as payment of the SEVIS fee. The DS-160 nevertheless remains the key document for all nonimmigrant visas.
Information to gather before opening the DS-160 form
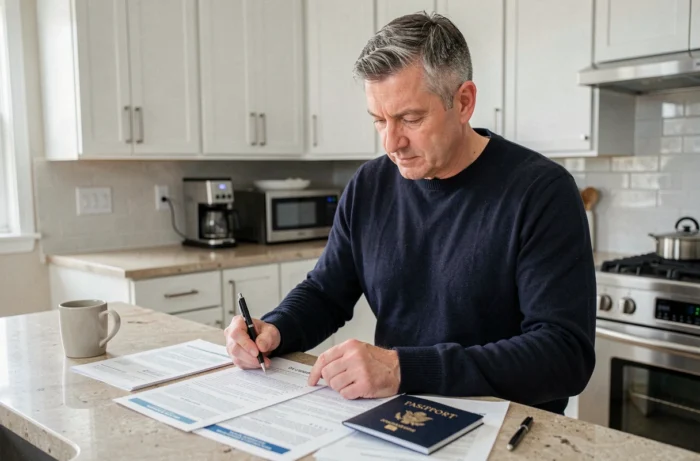
If a session remains inactive for too long, you’ll lose the page you’re working on and have to re-enter the information from your last save. The solution is simple: prepare everything in advance, with your physical documents beside your screen.
Here’s what you’ll need to gather:
- Valid passport: number, issue date, expiration date, and issuing authority. If an old passport contains an expired U.S. visa, you’ll also need its details.
- Recent travel history: dates and countries visited over the past five years. The form sometimes asks for details about previous stays in the United States.
- Work or academic contact details: name and address of your current employer or host institution, phone number for your supervisor or academic contact, and the exact title of your position or program.
- Digital passport-style photo that meets U.S. requirements: white background, square format, and resolution and file size that comply with the specifications on ceac.state.gov. A photo cropped from a selfie will be rejected by the upload system.
- Address where you plan to stay in the United States: host’s name, full address, and phone number.
Gathering this information usually takes longer than filling out the form itself. Preparing your paper documents before opening your browser helps prevent most data-entry errors.
DS-160 passport-style photo: a common reason for rejection
Other guides treat the photo as a minor detail. In practice, it’s one of the most common causes of technical issues. The online form includes an automated verification tool that checks framing, brightness, and resolution.
If the photo is rejected by this tool, you can’t submit the form. You’ll be stuck on the last page without a clear error message. Check these three things before uploading:
- Your face must take up enough of the image without being too close or too far away. Poor framing triggers an automatic rejection.
- There must be no shadows on your face or the background. Diffused frontal lighting is sufficient, even with a smartphone, as long as the background is a plain white wall.
- Remove your glasses. Photos showing frames, including prescription glasses, are rejected.
Once the photo passes the online check, it’s also the image the consular officer will see on their screen on the day of your interview. Any mismatch between your digital photo and your physical appearance may prompt additional questions.
Saving and resuming the DS-160 form online
The ceac.state.gov website assigns an Application ID on the first page. This ID, which is different from the final confirmation number, lets you resume the form where you left off.
Manually saving each time you move to a new page is the only way to protect against data loss. The “Save” button generates a downloadable file that you can import later. Without this backup, an internet outage or an expired session means you’ll have to start over from the last saved page.
The final confirmation number appears only after you submit the completed form. You’ll then receive a confirmation page with a barcode to print. Bring this document to your embassy interview, along with your passport and receipt for the consular fee payment.
What happens between submission and the interview
Once you’ve submitted the DS-160, you can schedule an appointment on the website of the relevant embassy or consulate. The wait between submitting the form and the next available interview date varies depending on the time of year and the visa category. During the summer months, when student applications surge, appointment slots fill up faster.
You can’t edit a submitted DS-160 form. If you spot an error afterward (a typo in your passport number or an incorrect date of birth, for example), your only option is to complete a new form and use the new confirmation number for your appointment.
Keeping a paper copy of the confirmation page and a digital backup of the application file is the most useful step in the entire process. On the day of your interview, the consular officer scans the DS-160 confirmation barcode to access your application. Without this document, your appointment will be rescheduled.