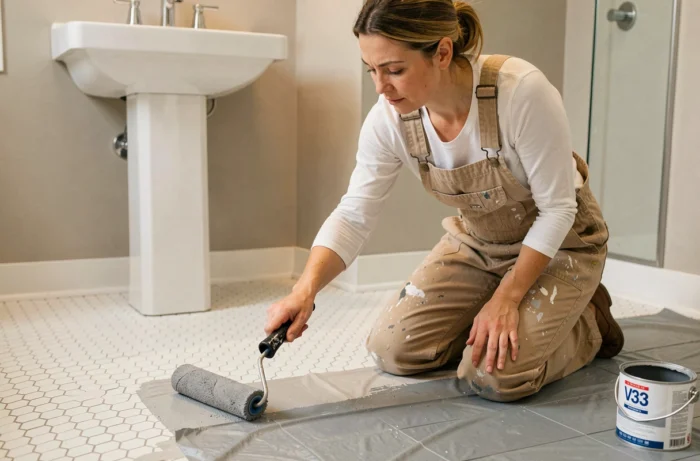
Painting bathroom wall tiles with a renovation product raises a measurable question: how different are the results when the surface is properly prepared versus when the job is rushed? Reviews from buyers of the V33 Rénovation Perfection range show a marked difference in satisfaction depending on how much care is taken before the first coat. This article compares the factors that make or break the result, from initial cleaning to curing times.
How tile preparation affects the durability of V33 Rénovation paint
User reviews point to two distinct experiences. Some report that the paint holds up well over time after the tiles have been thoroughly cleaned. Others find that it peels or adheres poorly when applied to a surface that has not been properly degreased.
The key factor is not the number of coats, but completely removing soap and grease deposits before application. A tile that looks clean may still have an invisible greasy film, enough to prevent the renovation paint from bonding properly.
If you’re looking for a V33 paint for bathroom tiles that suits your project, choosing the product matters less than carrying out this preliminary step thoroughly.
| Preparation factor | Well-prepared surface | Poorly prepared surface |
|---|---|---|
| Degreasing | Alkaline cleaner or acetone, followed by thorough rinsing | A quick wipe with a sponge and warm water |
| Silicone joints | Removed before painting and replaced after the paint has fully dried | Painted over or left in place |
| Surface drying before application | Completely dry surface (several hours) | Surface still slightly damp |
| Adhesion reported by users | Good durability over the medium term | Peeling, blistering, flaking |
Silicone joints and waterproofing: what tile paint cannot fix
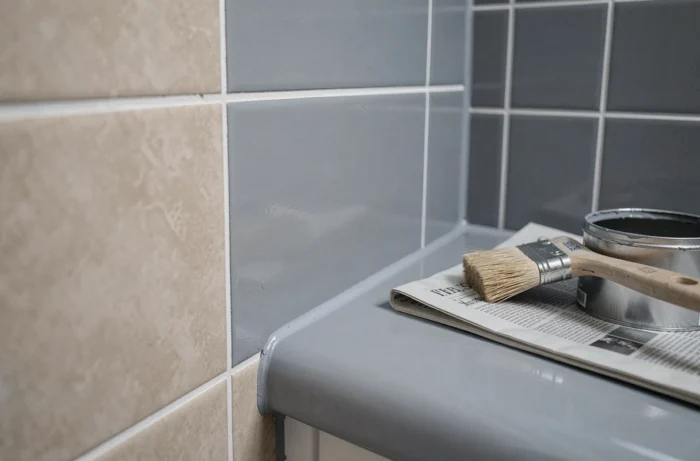
One technical point is reiterated in V33 product documentation: renovation paint does not replace a joint or fix failed waterproofing. Painting over a damaged silicone joint will not make it watertight. Worse, paint does not adhere properly to silicone, creating weak spots that can become visible within a few weeks.
Follow these steps in order:
- Remove all existing silicone joints before applying any paint, using a utility knife and a suitable solvent
- Apply the paint to the bare tiles, protecting the joint areas with masking tape
- Replace the silicone joints once the paint has fully dried to ensure a watertight seal
This adds time to the project, but it is essential for a durable result. In a shower, a peeling painted joint lets water seep behind the paint film, accelerating deterioration across the whole surface.
Drying and curing times: two different things with V33 paint
It is easy to confuse touch-dry time with full curing. The V33 Rénovation Perfection product description distinguishes between these two stages. The surface dries within a few hours, but the paint only reaches the required level of resistance after a longer curing period.
During this curing period, the instructions recommend gentle cleaning and limited use of the bathroom. Avoid abrasive products, scouring sponges and impacts until the paint film has reached its final hardness.
When can you use the shower again after painting?
How long you need to wait before using the shower as normal depends on the exact product and the room conditions (ventilation, temperature and humidity). The most reliable guidance is on the instructions printed on the packaging, which specify how long to wait before the paint can come into contact with water.
Too many projects fail not because of the product, but because the shower is used again before the paint has fully cured. A paint film that is still soft will lose adhesion much faster when exposed to hot water and soap than one that has had time to cure completely.
V33 Rénovation Perfection bathroom range: available colours and finishes
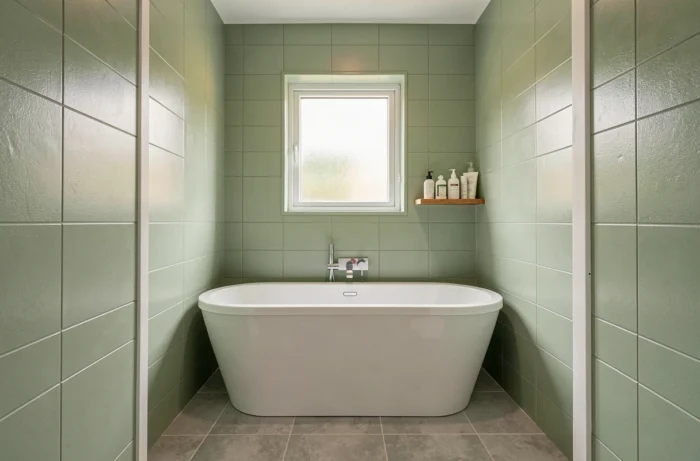
V33’s Rénovation Perfection Salle de Bain range comes in several colours, from classic white to bolder shades. The manufacturer’s website lists colours including Blanc, Lin clair, Voile de coton and Beige moelleux, as well as deeper shades such as Anthracite and Gris loft. Satin is the most common finish in this range.
Colour choice has practical implications beyond appearance:
- Light shades (Blanc, Voile de coton) show limescale marks more readily between cleanings, but make the space look larger
- Dark shades (Anthracite, Gris loft) conceal deposits better, but make any application flaws more noticeable
- Mid-tone shades (Lin clair, Beige moelleux) offer a balance between maintenance and appearance
Satin is the most suitable finish for damp rooms: it is easier to clean and more resistant to water splashes than a matt finish, while avoiding the mirror-like effect of gloss, which highlights every imperfection in the surface.
Long-lasting results on bathroom tiles: the non-negotiable requirements
The evidence points to one conclusion. V33 Rénovation Perfection works on bathroom wall tiles, provided you meet three requirements: thoroughly degrease the surface, remove silicone joints before painting, and allow the paint to cure fully before exposing it to water. Cutting corners at any of these stages comes at the expense of durability.
Tile renovation paint is not a quick cover-up. It can transform the look of a bathroom at a lower cost than removing all the tiles, but it requires preparation just as methodical as any conventional renovation project.